
DISCLAIMER
This post has been written for educational purposes only. We strongly recommend that all CNG conversions be completed by an experienced ASE Certified mechanic familiar with CNG systems.
Before performing any installation, you should be familiar with all common regulations applicable to CNG conversions, including the National Fire Protection Association’s Vehicular Natural Gas Fuel Systems Code, NFPA 52.
STEP 0 – START WITH A HIGH-QUALITY CONVERSION KIT
To ensure optimum vehicle performance and a straightforward installation experience, be sure to purchase a good CNG conversion kit.
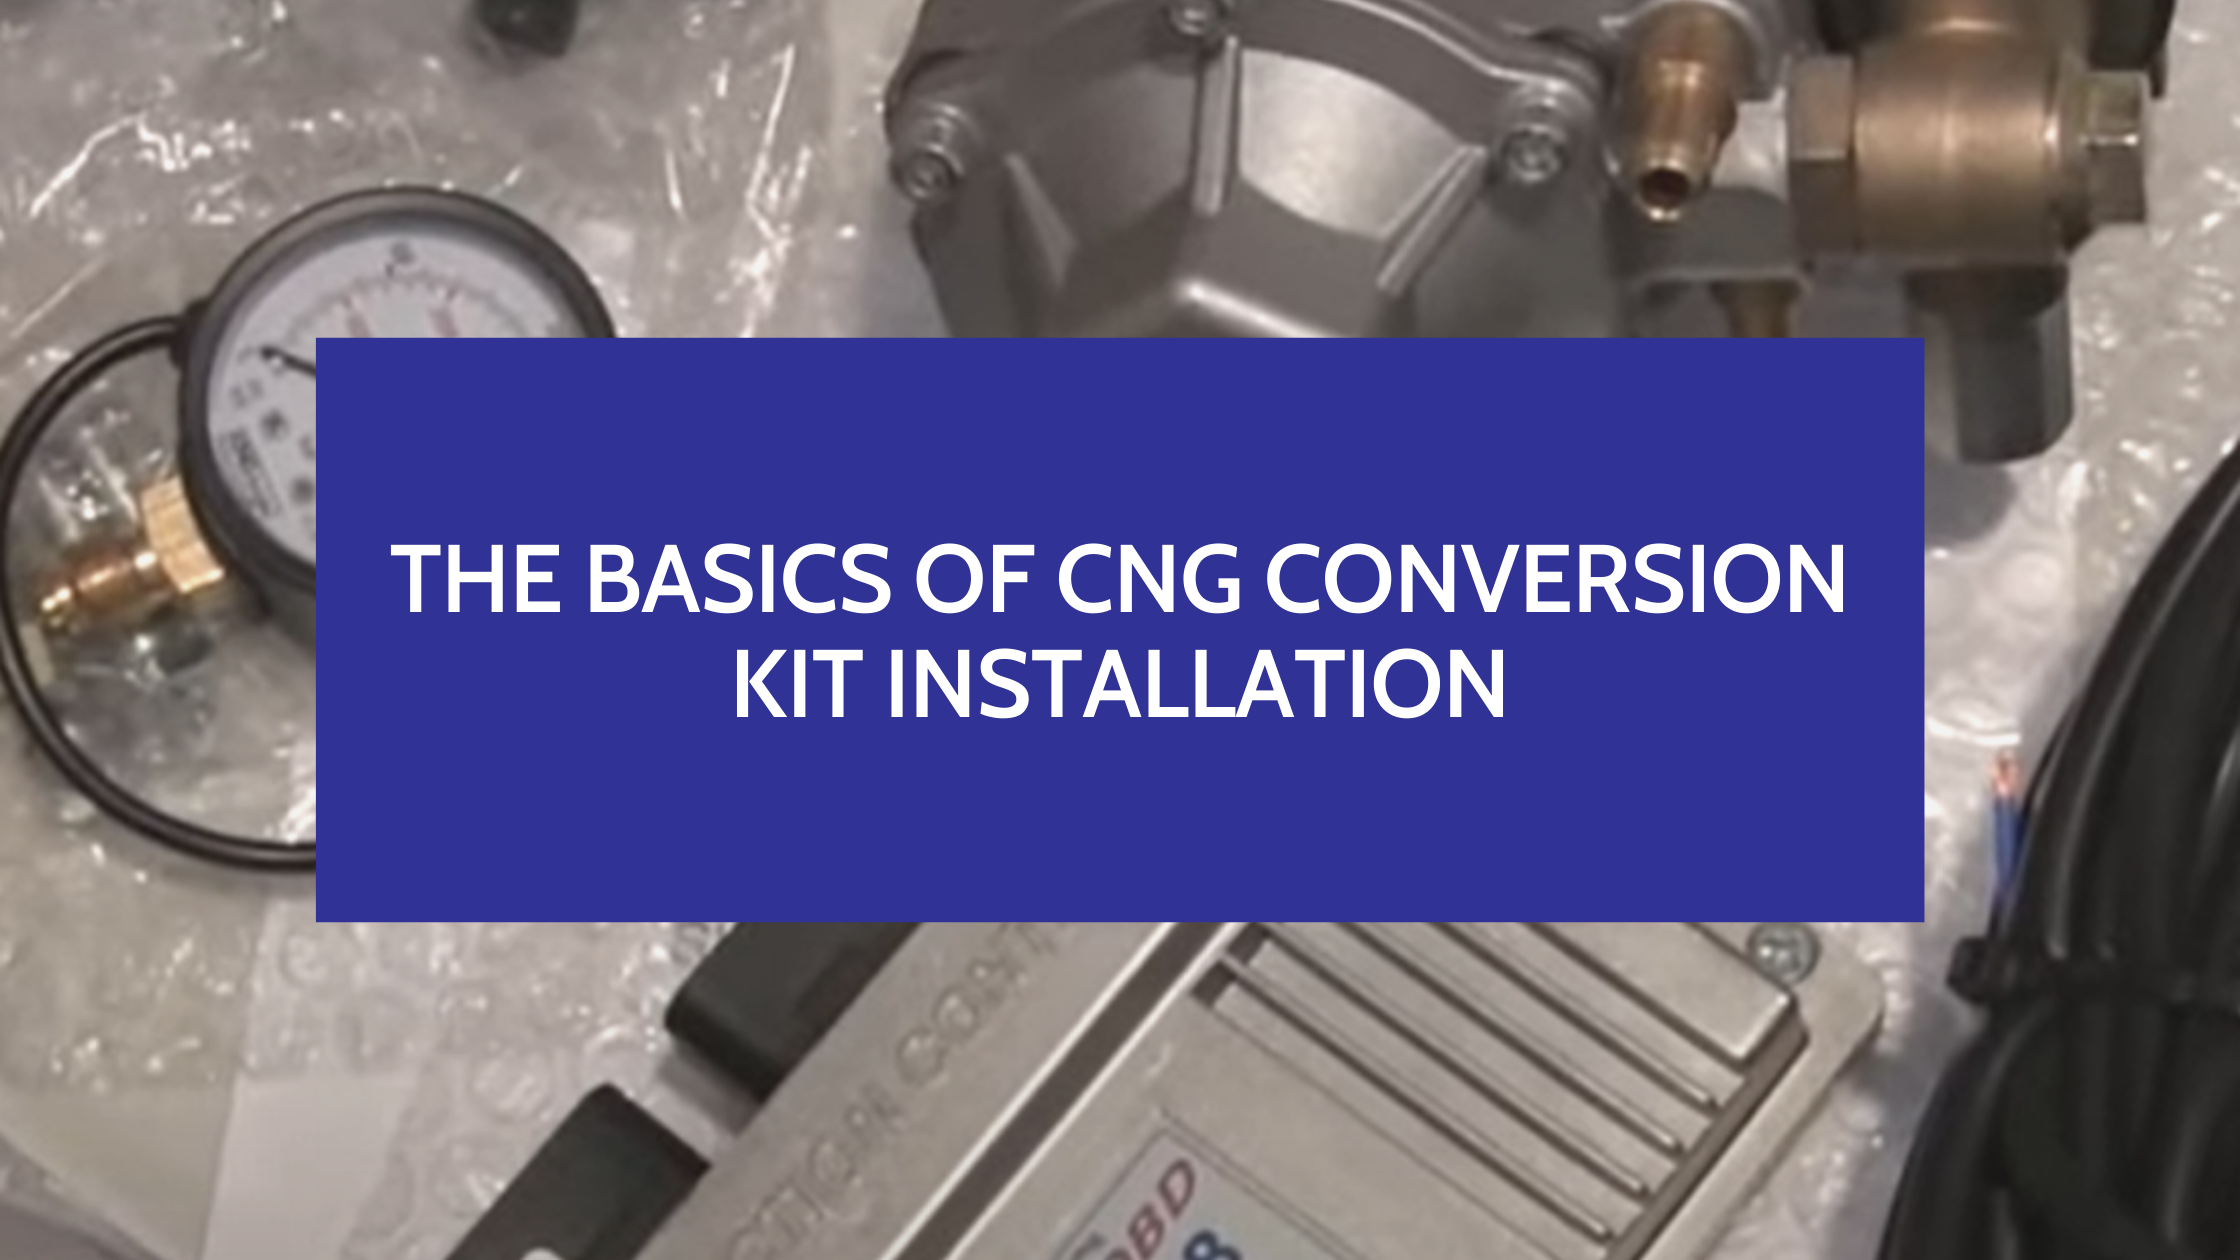
Familiarize yourself with each of the components (watch our video here and purchase our installation e-book here) and carefully compare the performance specifications offered by different vendors.
STEP 1 – CNG CYLINDER INSTALLATION
Purchase and install a 3,600-psi CNG cylinder (also known as a CNG tank) that includes a Pressure Relief Device (PRD) and shut-off valve (either manual or remote).
You will require steel straps and brackets for mounting the cylinder in your vehicle, as required by NFPA 52, Section 6.
Cylinders and PRDs are not included in SkyCNG CNG conversion kits. However, we will be happy to recommend a cylinder installer in your area.
STEP 2 – PLAN CAREFULLY BEFORE YOU BEGIN
It’s worth taking some time to write out an installation plan before you start bolting things onto your vehicle.
Identify the best place to mount each part and hose. This will include components that go under the hood, on your dash, and underneath the vehicle.
If you install the CNG cylinder inside your vehicle - in the trunk, for example - then NFPA 52 requires that all pipe and component connections be air tight, and that you create a vent for the PRD (usually through the vehicle floor).
STEP 3 – LOCATE THE CNG FILLER RECEPTACLE
The CNG filler receptacle is where you will connect the CNG pump when refueling.
Although it is commonly placed next to the gas cap for convenience, some owners prefer to locate it in the truck bed, under the hood, and even in the grill of their vehicle.
Once again, NFPA 52, Section 6 includes applicable restrictions and requirements.
STEP 4 – INSTALL THE HIGH-PRESSURE CNG LINE
The high-pressure CNG hose should be routed as far away from the engine exhaust system as practically possible.
Since this part of the system also includes the regulator - and optionally, a filter – you will need to find places to mount these as well.
The shut-off valve should be mounted as close to the CNG cylinder as possible – helping to isolate the CNG supply in an emergency – followed by the filter (if applicable) and then the regulator.
SkyCNG conversion kits include 20 feet of 6mm steel high-pressure fuel line, which is rated for 3600-psi.
This CNG fuel line should be securely fastened under the vehicle so that it is protected from road vibration and debris.
Cover the steel line with rubber fuel hose wherever it passes through a metal surface or makes a sharp corner. As mentioned above, keep it as far away from the exhaust pipe(s) as possible. Be sure to leave enough slack in the line for installing other components!
Use the T-set to connect the pressure gauge (manometer).
STEP 5 - INSTALL THE REGULATOR
The regulator should be strapped firmly to the frame using steel straps (which can be obtained from any hardware store). It must be nice and secure to prevent the high-pressure fuel line from moving around. The outgoing low-pressure CNG connection should be orientated towards the engine.
Keep in mind that coolant lines will also be connected to the regulator. You will tap these into the heater hoses on your vehicle using a hose T-joint. Put one of the lines between the heater control valve and the engine.
STEP 6 – INSTALL THE MIXER
This step only applies to mixer-aspirated conversion kits (also known as Venturi-aspirated kits)
Confirm that you have a suitably sized mixer. The inner circumference of the mixer (3.14 x its diameter) should be half the throttle plate circumference.
Install the mixer into the intake inlet hose, as close to the throttle body as possible. The kit can even be bolted directly onto the throttle body inlet.
Ensure the mixer is secure, with no gaps inside the intake hose.
Next, install the stepper motor control valve in the low pressure CNG line between the regulator and the mixer. Pro tip: be sure it is positioned where no moisture can get inside the motor.
STEP 7 – INSTALL THE INJECTION SYSTEM
This is the most daunting part of the installation – especially drilling, tapping, and installing injection nozzles into your intake manifold.
Note: If your manifold is made from plastic, you may not need to remove it.
Locate the nozzles as close to the existing gasoline injectors as possible, securing them with Loctite or other thread locking adhesive.
Attach the injector rail as close to the nozzles as you can. Installers usually get quite creative with this step, using brackets and joints purchased from the hardware store.
Your conversion kit includes hoses that must be cut to length from the injector rail to each of the nozzles. Firmly tighten the hose clamp on each end.
STEP 8 – ELECTRONIC CONNECTIONS
Follow the SkyCNG wiring diagram to connect the MAP sensor and Electronic Control Unit (ECU) to your vehicle’s OBD-II system. This allows the ECU to communicate with your vehicle’s engine management system. The RPM wire should be connected to the negative engine coil.
Unlike earlier, lower-cost systems, SkyCNG kits do not require tampering with the vehicles oxygen monitoring circuits or sensors.
Ensure the ECU is attached in a protected and dry place under the hood or dash.
STEP 9 – INSTALL THE CNG CONTROLLER AND FUEL GAUGE
Look for an existing hole through the engine firewall and then mount the gauge in a convenient space on the dashboard and connect it to the ECU.
STEP 10 – CALIBRATION
Use the USB-to-serial cable provided to connect your laptop to the vehicle’s OBD-II port, as shown in the wiring diagram.
Follow the on-screen calibration steps to fine tune your new CNG conversion kit!
The calibration may occasionally need updating. We recommend recalibrating every 10,000 miles, or whenever you notice any change in vehicle performance.
THE BOTTOM LINE
CNG conversion kit installation is something that can be successfully completed by anyone with general mechanic skills, but it isn’t something to be taken lightly!
For safety and performance reasons – like most things – proper planning and preparation prevents poor performance.
Hopefully, this short guide has given you a clearer idea of what you will be taking on if you decide to complete the installation yourself. Or, if you (wisely) decide to have a certified installer do the work, given you a helpful checklist of what to look for when overseeing the process and accepting the finished product.
Please don’t hesitate to contact us if you have any questions or need help finding a qualified installer in your area.